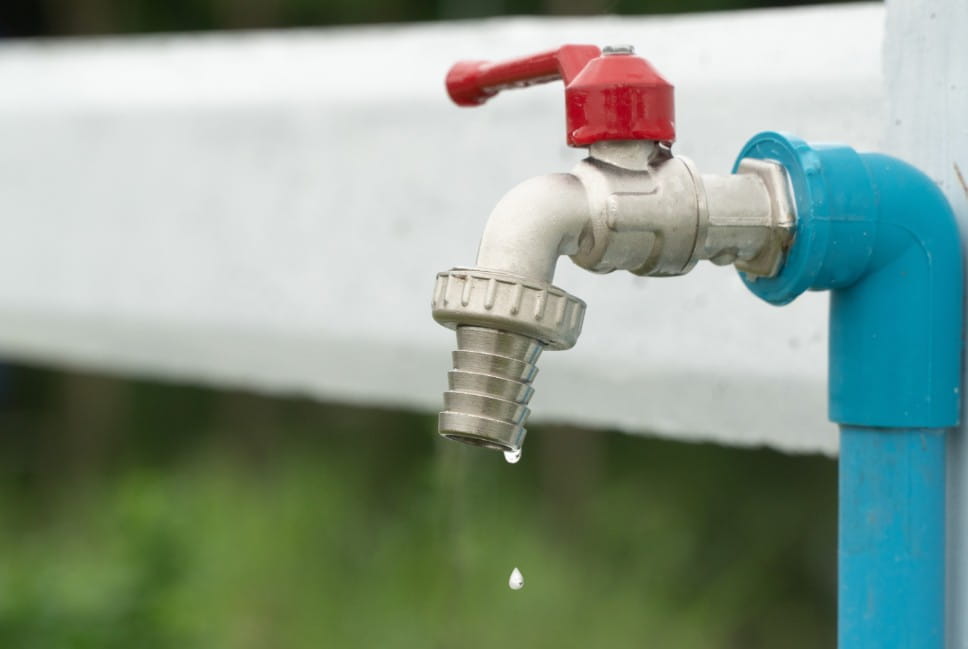
A dripping tap can easily turn a quiet home into a source of constant annoyance. Even small leaks quietly waste water and can add up on your bills over time. Learning how to fix a leaking tap early can help you save both water and money in the long run.
Knowing how to fix a leaking tap doesn’t have to be complicated. With the right guidance and a few basic tools, many issues can be handled at home without needing a plumber to fix leaking tap problems. In this guide, we’ll walk you through easy steps to fix a leaking tap and keep your fixtures working smoothly.
Common Reasons Why Taps Leak
Before attempting any repairs, it helps to understand why taps leak in the first place. Most leaks occur when internal components wear out or become damaged over time. Constant use, water pressure, and mineral deposits can gradually wear down washers, O-rings, or seals.
Different types of taps are prone to specific kinds of leaks:
- Compression Taps: Often leak due to worn washers.
- Ball Taps: Can develop leaks from worn O-rings or seals inside the ball mechanism.
- Cartridge Taps: May leak if the cartridge becomes damaged or worn.
- Ceramic Disc Taps: Usually more durable, but leaks can occur if the ceramic discs or seals get damaged.
Identifying your tap type makes it easier to pinpoint the root cause and tackle how to fix a leaking tap efficiently.
Tools and Materials You’ll Need
Getting ready for a tap repair is easier when all the essentials are close at hand. Using the right tools can make each step smoother and more precise. With everything prepared, you’ll have what you need to confidently fix a leaking tap.
- Adjustable wrench or spanner
- Flathead and Phillips screwdrivers
- Replacement washers, O-rings, or cartridges suitable for your tap
- Plumber’s grease
- Small container or cloth to catch drips
- Teflon tape for threaded fittings (optional)
Having these items set up before you start helps the repair go quickly and keeps the process hassle-free.
Step-by-Step Guide: How to Fix a Leaking Tap
1. Turn Off the Water Supply
Begin by shutting off the water supply to the tap. Check under the sink for isolation valves and turn them clockwise to close. If individual tap valves are not available, turn off the main water supply instead. Opening the tap afterwards will drain any remaining water in the pipes and prevent spills while working.
2. Plug the Sink
Small parts can easily fall down the drain during repairs, creating unnecessary frustration. A sink plug or a cloth over the drain can catch loose washers or screws. Taking this simple precaution saves time and ensures no components get lost.
3. Disassemble the Tap
Disassembly steps depend on the tap type:
- Compression taps: Remove the handle by unscrewing it, then use a wrench to take out the valve nut.
- Ball taps: Remove the handle, cap, and collar, then carefully lift the ball mechanism out.
- Cartridge taps: Remove the handle and pull out the cartridge, noting its orientation.
- Ceramic disc taps: Take off the handle and lift out the ceramic disc cylinder.
Keeping all small parts in a container prevents them from being misplaced and makes reassembly smoother.
4. Inspect for Damage
Check washers, O-rings, cartridges, and seals for wear, cracks, or mineral buildup. Even small damage can cause persistent leaks. Comparing old components with new replacements ensures the parts fit correctly, which is essential for a reliable repair.
5. Replace Faulty Parts
Install new washers, O-rings, or cartridges in the same positions as the originals. Apply plumber’s grease to moving parts and O-rings to reduce friction and increase durability. Wrap Teflon tape around threaded fittings if needed to create a tight seal and prevent leaks. Proper installation at this stage ensures a long-lasting fix.
6. Reassemble the Tap
Put all parts back together in the reverse order of disassembly. Each component should fit snugly without overtightening, which could damage the tap. Patience and careful handling make sure the tap functions correctly once reassembled.
7. Turn the Water Back On
Open the isolation valves or main water supply, then turn on the tap. Check for leaks. If the leak persists, you may need to recheck your installation or consider that the tap itself may be worn and require replacement. Following these steps ensures you understand exactly how to fix a leaking tap the right way.
Tips to Prevent Future Leaks
Proper care can keep taps working smoothly for years and reduce water waste. Small changes in how taps are handled and maintained make a big difference in avoiding drips. Applying these simple habits helps lower the chances of having to fix a leaking tap in the future:
- Avoid Overtightening: Turning handles too hard can wear out washers and seals, leading to leaks.
- Clean Aerators and Filters: Mineral deposits can slow water flow and reduce performance, so regular cleaning keeps taps running efficiently.
- Check for Drips Regularly: Catching leaks early makes repairs easier and prevents bigger plumbing problems.
- Use Quality Replacement Parts: Investing in durable parts saves time and prevents repeated repairs.
Consistent care keeps taps reliable, reduces water waste, and minimises the need to fix a leaking tap over and over.
When to Call a Professional
Some tap leaks are better handled by an expert to prevent further damage or complications:
- Tap body is cracked or severely corroded.
- Water is leaking from the pipe rather than the tap.
- You are unsure how to handle the repair safely or lack the right tools.
Calling a plumber to fix leaking tap ensures the issue is resolved correctly and protects your plumbing system from additional problems.
Keep Your Plumbing Working Perfectly
Even minor drips can disrupt daily routines and quietly waste water over time. Taking prompt action helps maintain efficient plumbing and keeps taps working as they should. Knowing how to fix a leaking tap equips homeowners to handle issues quickly and confidently.
If problems persist or seem too complex, calling for expert assistance is the best approach. Contact Brisbane Blocked Drain Experts at 07 3333 2734 for professional, dependable service. Proper plumbing care ensures taps and pipes stay in top condition, preventing further damage and unnecessary hassle.